Oh hello!

I'm Meg. I make stuff.
Showing posts with label craft project. Show all posts

Monday, September 16, 2013

Rainbowed-out headphones

Start with some simple headphones.  Anything will do!


Standard cheap headphones like you get at the airport when you forget to pack yours from home.

Get some Perler beads from Amazon or Michaels or something.  I used around 325 beads.  Also get an exacto knife.  Cut a slit through the side of each bead like this:

Safety first!  Wear goggles.  For added excitement, do this whole project balanced on the arm of a couch.  What was I thinking??  #couchfullofbeads


You've got to thread these onto the wire, but from the side.  Here is the good news, and what I figured out through trial and error:  you can use the plug itself as a wedge to hold the bead open while you thread it on.  Like this:

Just kind of jam it in there

Wedge the wire in that space
You did it!

Now do it 300 more times.
Just keep going forever.  I found the thinner wires that are near the upper part of the headphones where they split fit nicely with the beads, whereas the thicker part of the wire that connects to the device showed a little seam.
no seam showing
seam showing

                                       
but it didn't really bother me.  Here's the finished product, a few hours later:

I left a little space between the beads to allow for more flexibility.

                                       
A nice thing about beading your headphone wires is that they don't get tangled at all!  They do take up more space though, and attract more unicorns.

Because of the rainbows!!!  :D

Thursday, September 12, 2013

Under the sea art projects


This is a round-up of some of the projects we did in our Underwater Adventures week!

3-D Atlantis Maps
Another, with creative use of sticker salvage pieces
I find that little bits of materials like cool yarn, straws, and salt dough can really bring excitement and inspiration to a project.  My kids did really cool things with them!

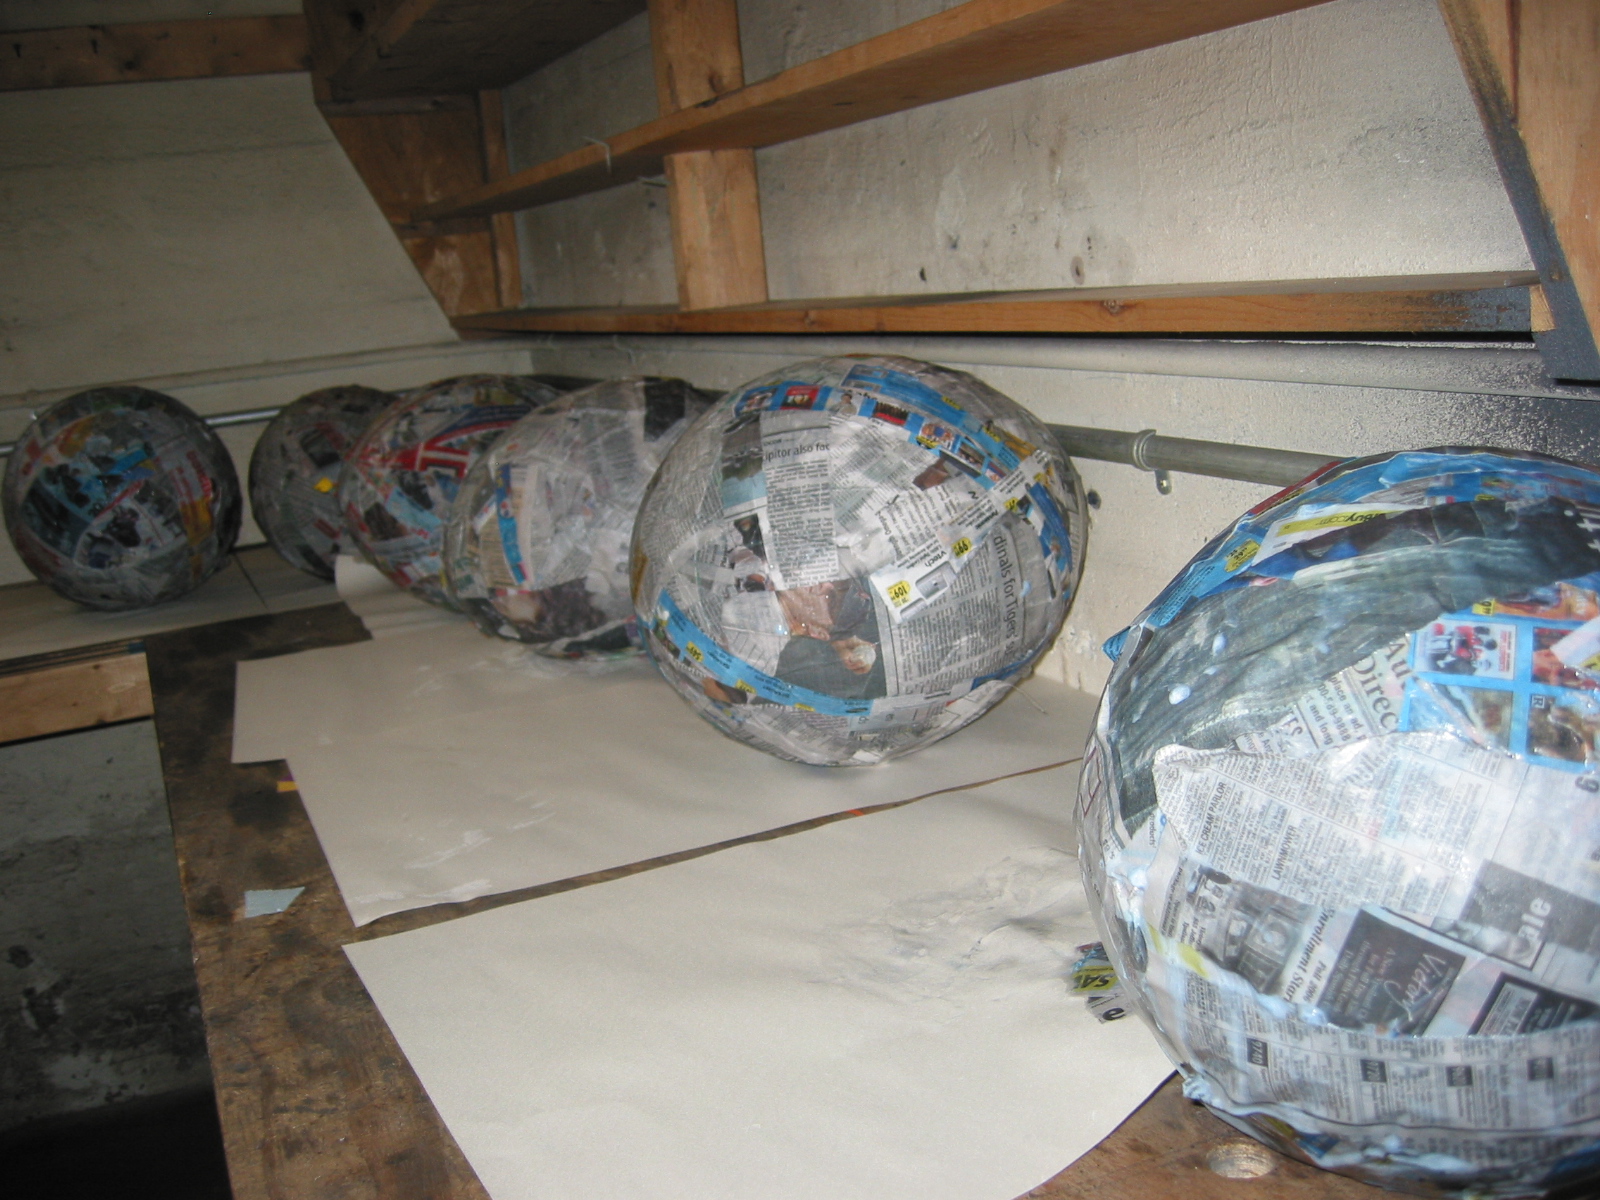
What will these paper mache'd balloons become?
                         
Jellyfish hats!!!
Jellyfish hats for everyone!
In case it's not obvious, we cut the paper mache balls in half, cut eye holes, painted then, and then strung strips of fun things (crepe paper, bubble wrap, wacky yarn) around the edges as tentacles.  They were really fun to wear outside- the wind made the tentacles flutter!

Decoupage with tissue paper and watered-down glue
                         

A note about doing a lot of these projects in the summer- the moisture in clay, paper mache, and decoupage can get stuck in muggy weather and can sometimes even mold (especially if you make your own paper mache glue out of flour.)  Box fans overnight can prevent this, and make everything dry and take-home ready in a day or two!


Dinosaur tar pits

When I was working at the Ann Arbor Art Center, each week of Art Camp had a different theme.  Some of them really made me stretch my ideas, and often led us down really fun paths.  For example, dinosaur tar pits!

The idea started with making tar GAK and grew from there.  First, we made our own salt dough and made little circles of stones on pieces of cardboard we colored to look like the ground, like this:

by the end of camp I think my kids had the recipe for salt dough memorized!

Next, we made gak (recipe here) and added black paint to it to look like tar.  We put little paper cups (paint cups, though the bottom of a cut paper cup would work fine) in the middle of the circle of stones, as we were worried the stones wouldn't hold the gak in enough.  Then we added gak and as a surprise, when the kids weren't looking, we added dinosaurs to each tar pit.

Perspective shots helped :)

We also added little blobs of salt dough and bits of raffia to make bushes.

I love the bubbles in the tar!

After a few days, the tar dried to a nice sheen.  It stays pliable if put in a plastic baggie though.

Fun!


Thursday, March 22, 2012

Satin Flowers

These things were all over pinterest and I was dying to try them.  Turns out they're super fun and easy and kind of addictive, especially if you're the kind of person who likes to play with candles in ways that would make your mom unhappy.

Using any weight polyester satin, cut a few circles of varying diameters.  You can use sheers too, but be aware that they melt faster than the other fabrics.  Hold the edges of your circles above a flame and they'll crinkle and curl.  That's it!

It took us a few tries to make them not scorchy and I still wound up with some black spots along the edges, but I'm a super impatient crafter and it didn't really bother me.  If you're worried, dark colors help, or you can just be more careful and hover higher above the flame.

When you're done, stack a few petals on top of each other and sew through the middle with a bead or button.  Here I used pearl beads from the fabric store.

I sewed hair clips on the back.  I've seen people do snaps instead so they can change them on hair clips or clothing.

This poppy-looking one has a fancy button in the middle.  To make these petal shapes, just cut slits (don't remove any fabric) around the edges of the circle, about halfway from the outer edge to the middle.  They're a little trickier to melt, but they'll form into cool petal shapes.  I didn't find a need to round the petals at all- they kind of did it on their own. 
 

This last one is my favorite.  I like how flipping the same fabric from right side to wrong side can yield 2 different textures- kind of adds interest. 


I wore one of these in my hair to go to the Barber of Seville with Nutty.  It looked pretty cute:


He took one of the reject ones and pinned it on his coat so we would match:

What
A

Goof!


Monday, January 30, 2012

Icicle Ornaments


These are fun, nondenominational winter gifts that are quick and easy to make, especially with some prep!  They're also cute tied into present bows, or secretly hung all over the house.

Use medium-gauge wire and cut pieces about 3 inches longer than you want the finished icicle to be.  Curl the bottom into a little spiral using needle nose pliers.  This step can be done to all of them before you begin.  Let kids string beads and sequins on the wires, and then curl the top into a hook.  Note how the tops of the wires are curled in too (click the pictures to make them bigger!)- that prevents them from being pokey.  We used a big marker to make the top hooks even.

Decorate with wild abandon!

Makeshift Frosted Windows


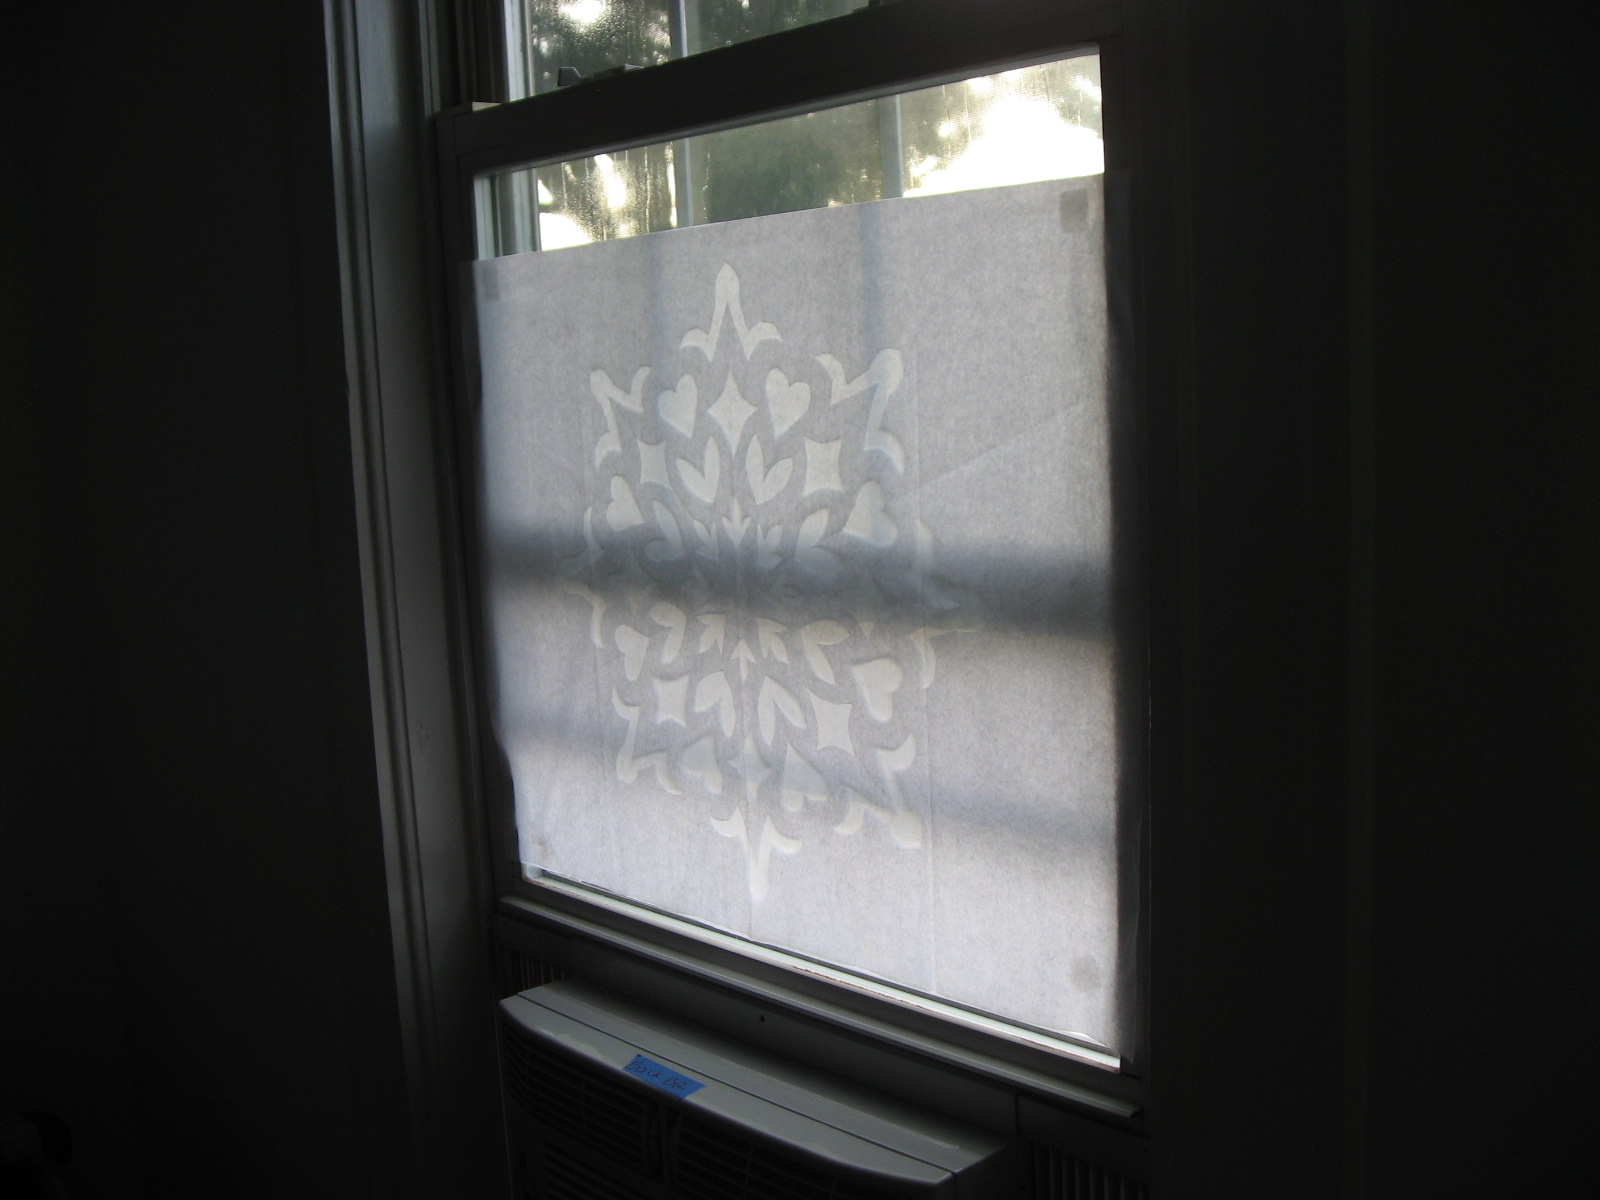
Let's say you have windows that look out to other people.  You want to block out their view, but not the sunlight.  Also, you have no time or money and your sewing machine is in a box at the back of the storage area.  What's a girl to do?

I made these window sheers out of 2 sheets of tissue paper.  First I measured them to fit the size of the window and cut them.  You're only going to be making the design on one of the sheets, as the other is just an overlay for privacy and sturdiness.

I folded one sheet of tissue paper into eighths as if I were going to make a scientifically incorrect snowflake.  I didn't cut the outside into a circle shape, just left it big and rectangular.

I tried to fold it loosely so I wouldn't have big creases around the edges of it.


I did two different designs on the two windows, and stuck them on with scotch tape rolls in the corners.  They held up pretty well, till I got my act together and hung some real curtains!  

Saturday, January 28, 2012

Origami elephant

An origami elephant from someone special!

Make your own scratch art paper


Scratch art paper is really expensive and is super easy to make.  Color a piece of paper heavily with crayon so there are no white spots left.  (Also, don't use black crayon.)  Paint over the whole thing with black paint- I've had good luck with acrylic, using a sponge brush.  Try to use as little as you can while still covering the color completely.  Let it dry (usually an hour or less) and then use a pointy-ish-but-not-too-pointy tool to scratch a drawing on the paper.  I've had luck using the back of a wooden matchstick, the not-pointy end of a wooden skewer, or a pen cap.
Most kids will want to go nuts and scratch off the whole thing.  It's a good idea to make one along with them to use as an initial sacrifice, so they can make an actual design on their own.
  Try this one out first- some papers and paints work better than others, so make sure you've got a good combo before making kids color till their hands go numb.


Super fun!