The key to a good collage project is having good materials for the kids to look through. I found that Real Simple, some yoga magazines, art magazines, and some family/parenting magazines tended to have images that kids could relate to and get inspired by- and images that weren't overly sexual or misogynist. I put on some fun music while the kids made these, and then they took turns telling stories about each other's collages. It was lots of fun, and was like two projects in one!
Oh hello!
I'm Meg. I make stuff.
Showing posts with label paper. Show all posts
Monday, September 16, 2013
Thursday, September 12, 2013
Self Portraits
There are lots of cool ways to make self portraits with kids. Often detaching the goal of realism helps kids feel more comfortable experimenting with shapes, colors, techniques, etc. Here are a few different ideas to try: (A lot of these are mine instead of the kids', for privacy)
See how to make your own scratch art paper here!
It is VERY important to bring in good fabric scissors or else this will be a very frustrating project for the kids- most kids art room scissors are much too dull to cut effectively. MAKE SURE TO PUT AWAY PIPE CLEANERS BEFORE YOU BRING OUT THE GOOD SCISSORS. One snip can ruin a good pair!
As I've mentioned before, adding in some element of an unusual or unfamiliar art supply can really inspire kids. Here, I had them choose one word from a magnetic poetry set that they felt described them. Then they drew the feelings that word game them and glued on the piece.
Last but not least, one of my favorites- Andy Warhol-inspired portraits!
The kids LOVED these. Take a picture of each child making a silly face. Then print out 4 side-by-side copies of it in black and white on plain printer paper. Then color over them with colored pencils!
The frame here is made out of scraps of discarded art. We did this a lot, and it helped us remember to get as many uses out of a single sheet of paper as we could! (We also read The Lorax at the beginning of each week to help us remember to conserve and recycle resources!)
![]() |
| Scratch art portraits |
![]() |
| Masks using fabric scraps, pipe cleaners, beads, and paper cone cups |
![]() |
![]() |
| These were so fun I'm putting in a bunch. These are simpy tempera paint on black construction paper. |
![]() |
| I think they look so cool!! |
![]() |
| We tried to leave black space between paint sections to keep the colors looking vibrant. |
As I've mentioned before, adding in some element of an unusual or unfamiliar art supply can really inspire kids. Here, I had them choose one word from a magnetic poetry set that they felt described them. Then they drew the feelings that word game them and glued on the piece.
Last but not least, one of my favorites- Andy Warhol-inspired portraits!
![]() |
| Oh my. |
The kids LOVED these. Take a picture of each child making a silly face. Then print out 4 side-by-side copies of it in black and white on plain printer paper. Then color over them with colored pencils!
The frame here is made out of scraps of discarded art. We did this a lot, and it helped us remember to get as many uses out of a single sheet of paper as we could! (We also read The Lorax at the beginning of each week to help us remember to conserve and recycle resources!)
Labels:
abstract,
art project,
beads,
crayon,
fabric,
mask,
paper,
paper plates,
pipe cleaners,
portrait,
scratch paper,
tempera paint,
things to do with kids,
Warhol
Under the sea art projects
![]() |
| 3-D Atlantis Maps |
![]() |
| Another, with creative use of sticker salvage pieces |
![]() |
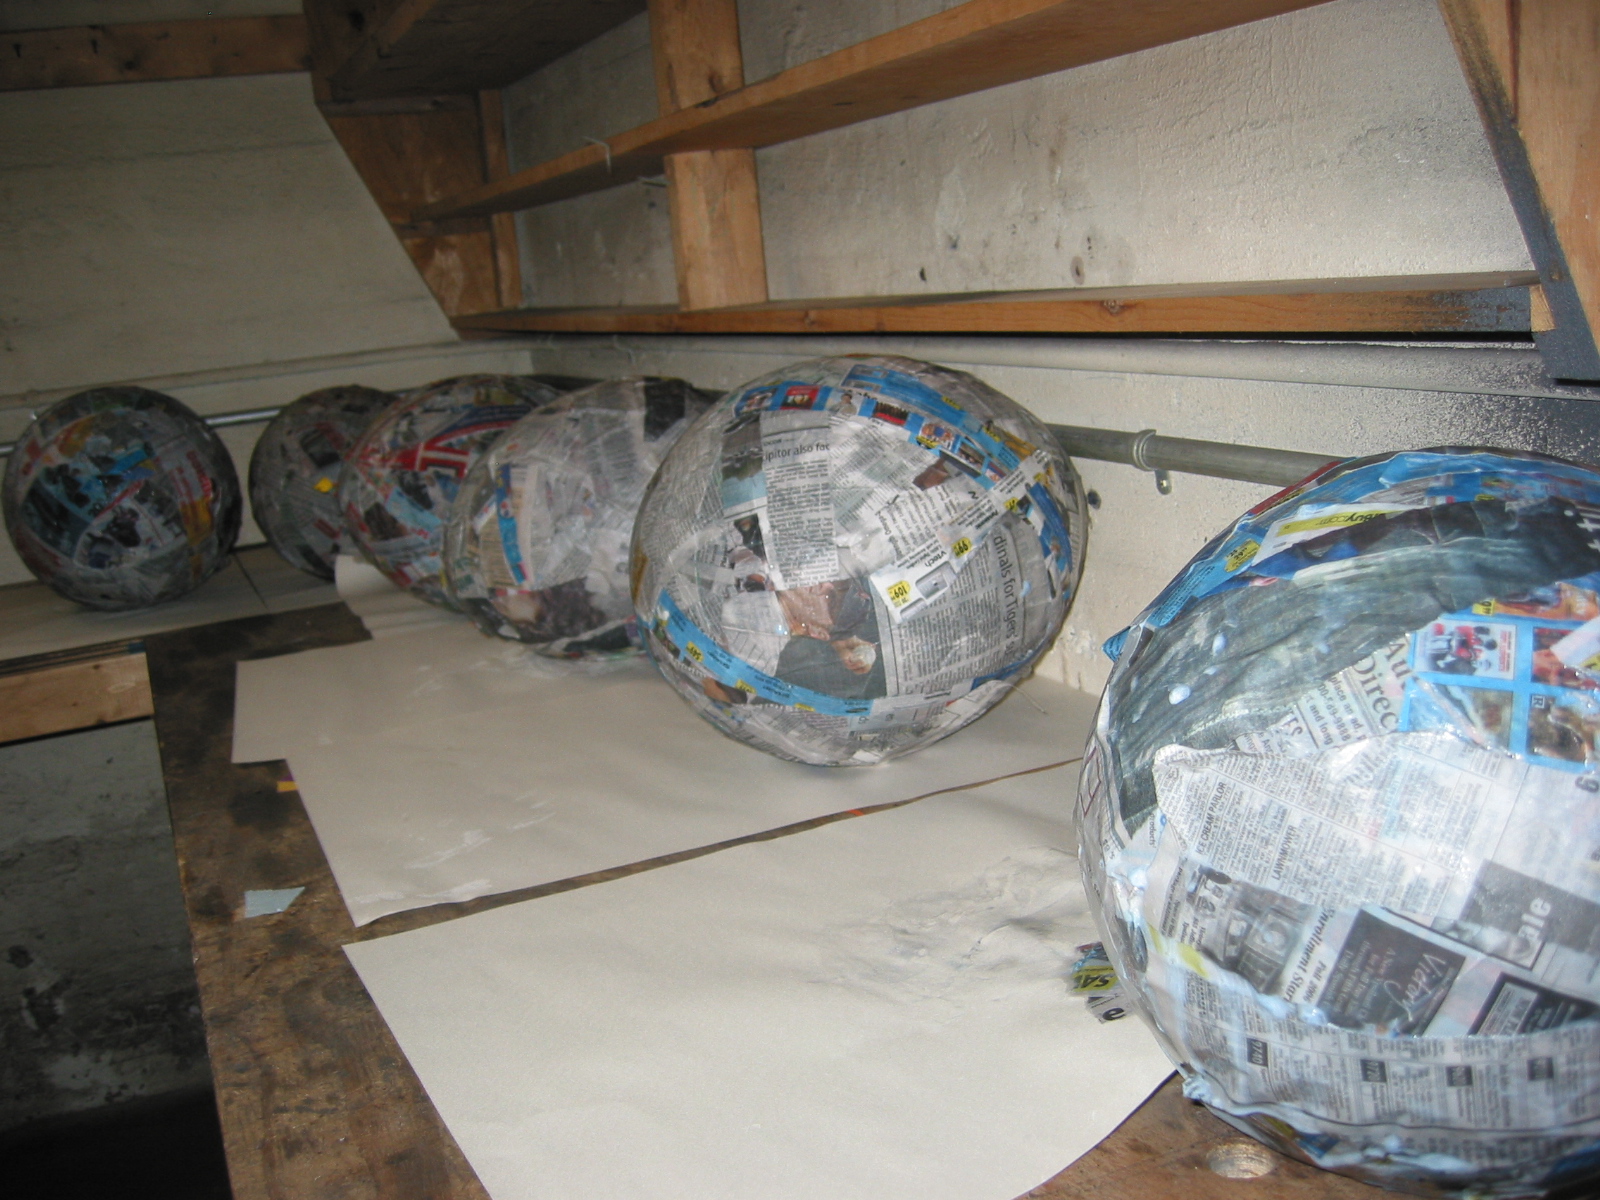
| What will these paper mache'd balloons become? |
![]() |
| Jellyfish hats!!! |
![]() |
| Jellyfish hats for everyone! |
![]() |
| Decoupage with tissue paper and watered-down glue |
A note about doing a lot of these projects in the summer- the moisture in clay, paper mache, and decoupage can get stuck in muggy weather and can sometimes even mold (especially if you make your own paper mache glue out of flour.) Box fans overnight can prevent this, and make everything dry and take-home ready in a day or two!
Labels:
art project,
bubble wrap,
craft project,
crepe paper,
decoupage,
diorama,
jellyfish,
paper,
paper mache,
salt dough,
straw,
tissue paper,
yarn
Salty Watercolors
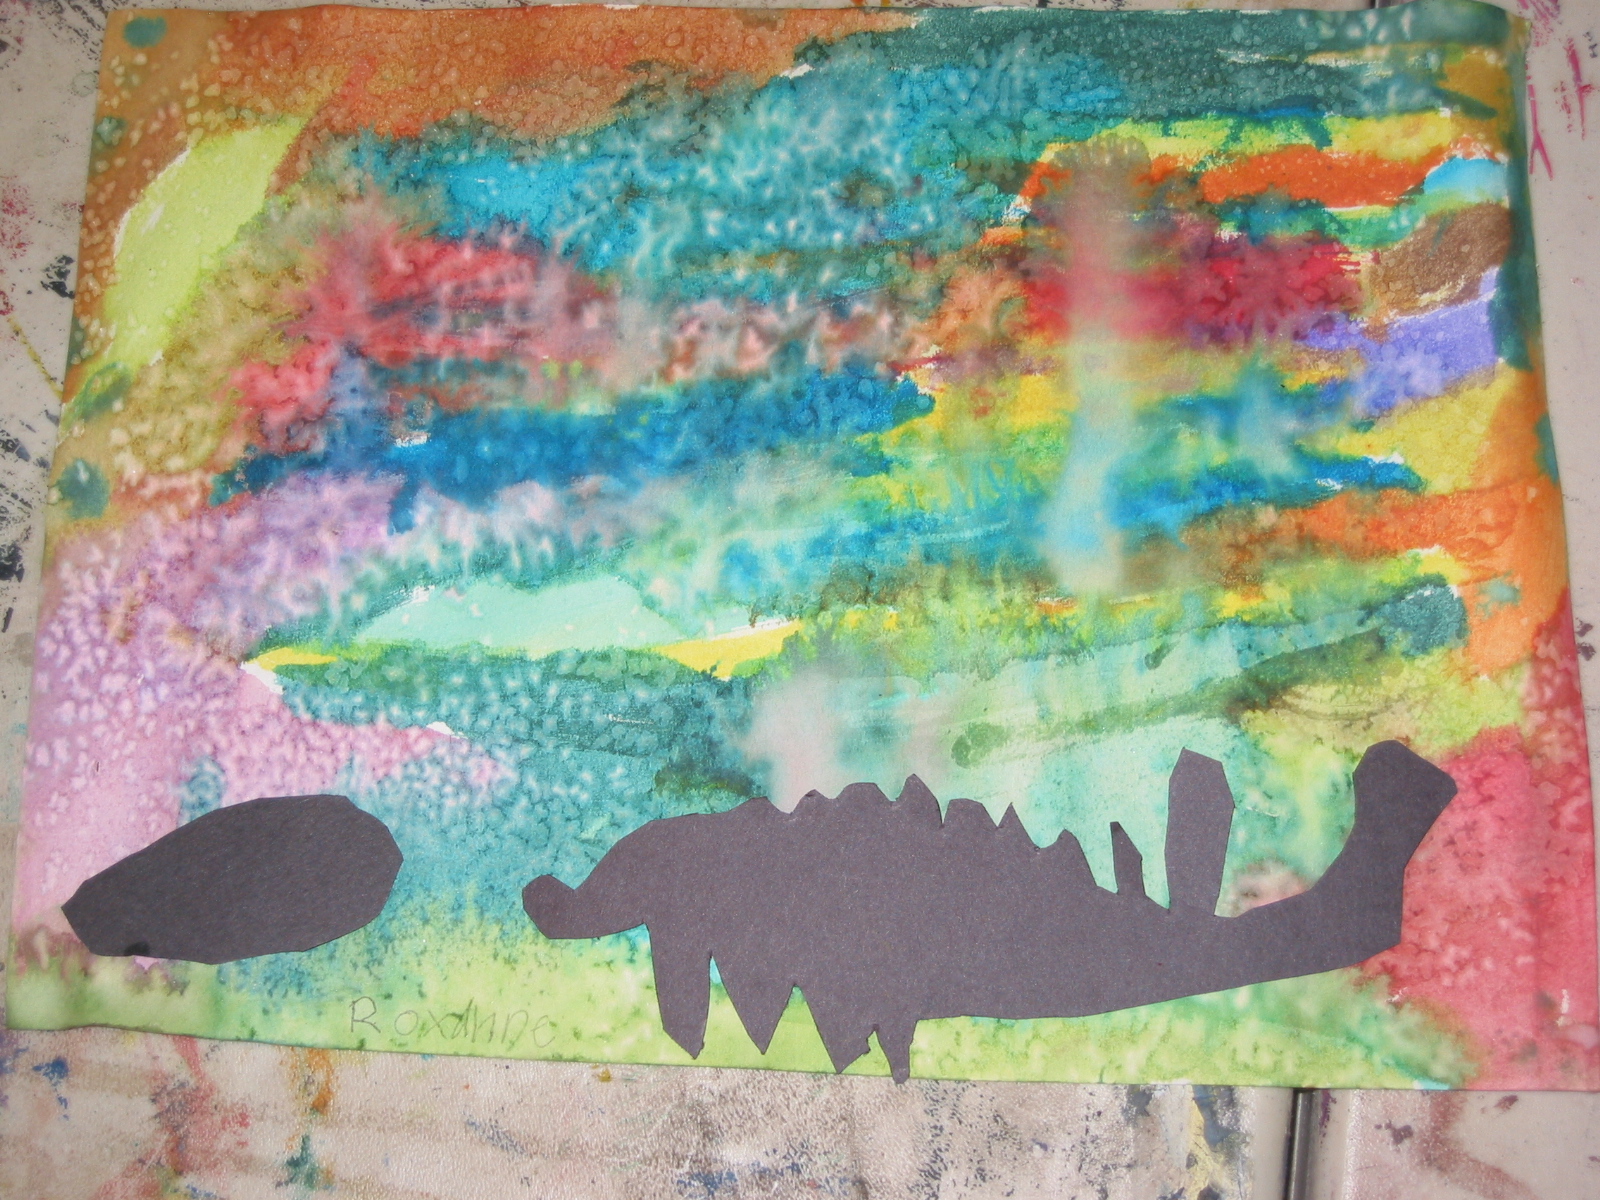
Did you know if you sprinkle salt on a still-wet watercolor it makes absolutely gorgeous crystal shapes on it?
Here are some dinosaur silhouette sunsets I did with 6-8 year olds.
| We added construction paper cut-outs on top |
Make sure the salt is the last step- painting over it will ruin the effect. Different wetnesses provide different effects. I've found it looks best when the paper is still quite damp to the touch, but not puddling.
This effect is also fun if you draw a snowman with white crayon on white paper, then paint over with blue and add salt. It looks like snow!
The salt transformation is really fun and happens over the span of a couple of minutes. When it's dry you may want to brush off the salt crystals with your hand, or leave them there because sometimes it makes the picture look sparkly!
Monday, January 30, 2012
Dancing Finger Puppets
This is a fun easy project to do. Try and make the bases out of something sturdy so the leg holes don't tear. I made mine out of manilla folders. This is a million times easier if you've got a sizeable hole punch- I got one once in the scrapbooking section that cut a hole the size of a nickel. It was invaluable for eye holes and lots of other projects. I wish I still had it! I cut a million of these for a class using an exacto knife, and it took forever. Also fun: make elephants with one hole for the trunk!
These are fun puppets and get everyone giggling.

Saturday, January 28, 2012
Make your own scratch art paper
Scratch art paper is really expensive and is super easy to make. Color a piece of paper heavily with crayon so there are no white spots left. (Also, don't use black crayon.) Paint over the whole thing with black paint- I've had good luck with acrylic, using a sponge brush. Try to use as little as you can while still covering the color completely. Let it dry (usually an hour or less) and then use a pointy-ish-but-not-too-pointy tool to scratch a drawing on the paper. I've had luck using the back of a wooden matchstick, the not-pointy end of a wooden skewer, or a pen cap.
| Most kids will want to go nuts and scratch off the whole thing. It's a good idea to make one along with them to use as an initial sacrifice, so they can make an actual design on their own. |
Try this one out first- some papers and paints work better than others, so make sure you've got a good combo before making kids color till their hands go numb.
Super fun!
Labels:
craft project,
crayon,
paint,
paper,
things to do with kids
Subscribe to:
Posts (Atom)