I love giving kids unusual materials to work with. They often become very careful and meticulous, and conscious of the special-ness of what they are being allowed to do. For this project, I armed a few helpful adults with hot glue and lay out a table full of bunch of small fun stuff- recycled scraps, classroom leftovers, old toys that tend to go un-played-with, feathers, beads, fabric, magnetic poetry, buttons, etc. Each child was allowed to take several turns through the supply table so that everyone had a chance to get some "good stuff." These are some of the things kids made. I think they're really interesting!
Oh hello!
I'm Meg. I make stuff.
Showing posts with label diorama. Show all posts
Monday, September 16, 2013
Wacky dioramas
Labels:
3D,
absurdist,
art project,
beads,
buttons,
diorama,
fabric,
hot glue,
mixed media,
recycled,
things to do with kids
Thursday, September 12, 2013
Under the sea art projects
![]() |
| 3-D Atlantis Maps |
![]() |
| Another, with creative use of sticker salvage pieces |
![]() |
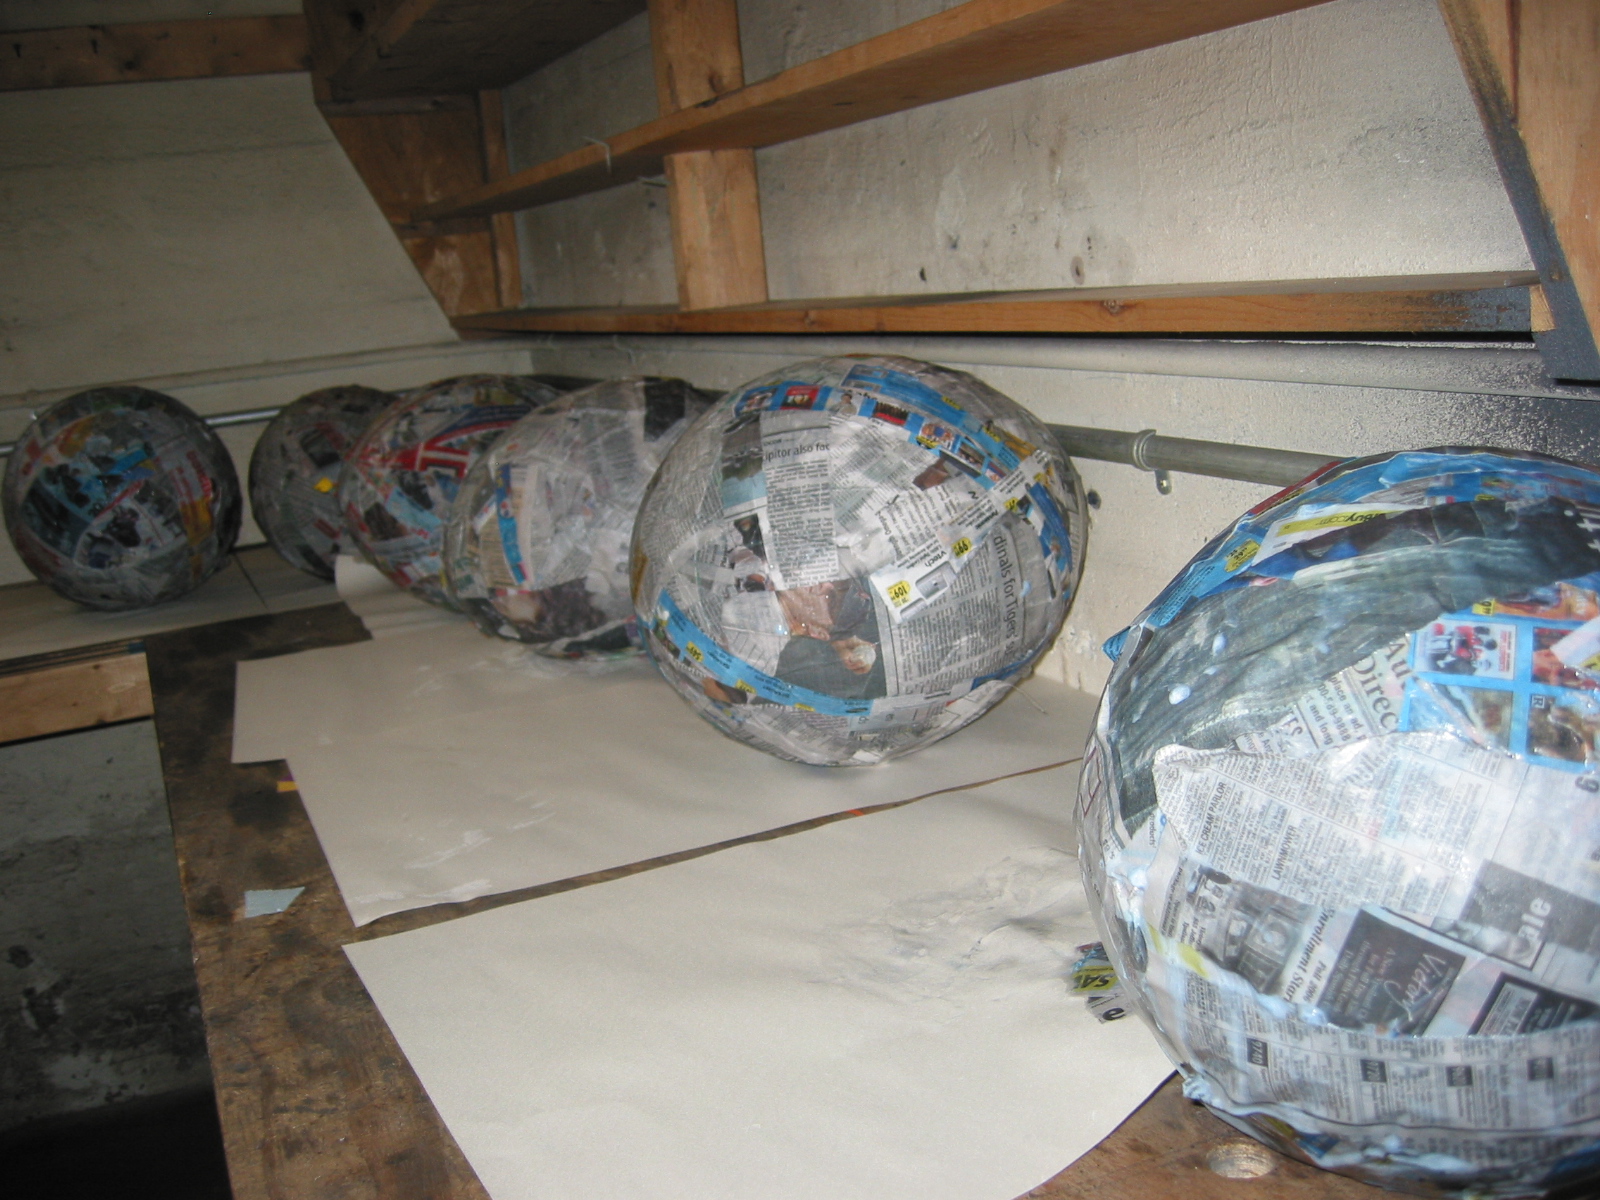
| What will these paper mache'd balloons become? |
![]() |
| Jellyfish hats!!! |
![]() |
| Jellyfish hats for everyone! |
![]() |
| Decoupage with tissue paper and watered-down glue |
A note about doing a lot of these projects in the summer- the moisture in clay, paper mache, and decoupage can get stuck in muggy weather and can sometimes even mold (especially if you make your own paper mache glue out of flour.) Box fans overnight can prevent this, and make everything dry and take-home ready in a day or two!
Labels:
art project,
bubble wrap,
craft project,
crepe paper,
decoupage,
diorama,
jellyfish,
paper,
paper mache,
salt dough,
straw,
tissue paper,
yarn
Dinosaur tar pits
When I was working at the Ann Arbor Art Center, each week of Art Camp had a different theme. Some of them really made me stretch my ideas, and often led us down really fun paths. For example, dinosaur tar pits!
The idea started with making tar GAK and grew from there. First, we made our own salt dough and made little circles of stones on pieces of cardboard we colored to look like the ground, like this:
Next, we made gak (recipe here) and added black paint to it to look like tar. We put little paper cups (paint cups, though the bottom of a cut paper cup would work fine) in the middle of the circle of stones, as we were worried the stones wouldn't hold the gak in enough. Then we added gak and as a surprise, when the kids weren't looking, we added dinosaurs to each tar pit.
We also added little blobs of salt dough and bits of raffia to make bushes.
After a few days, the tar dried to a nice sheen. It stays pliable if put in a plastic baggie though.
The idea started with making tar GAK and grew from there. First, we made our own salt dough and made little circles of stones on pieces of cardboard we colored to look like the ground, like this:
| by the end of camp I think my kids had the recipe for salt dough memorized! |
Next, we made gak (recipe here) and added black paint to it to look like tar. We put little paper cups (paint cups, though the bottom of a cut paper cup would work fine) in the middle of the circle of stones, as we were worried the stones wouldn't hold the gak in enough. Then we added gak and as a surprise, when the kids weren't looking, we added dinosaurs to each tar pit.
| Perspective shots helped :) |
We also added little blobs of salt dough and bits of raffia to make bushes.
| I love the bubbles in the tar! |
After a few days, the tar dried to a nice sheen. It stays pliable if put in a plastic baggie though.
Fun!
Labels:
art project,
craft project,
crayon,
dinosaurs,
diorama,
gak,
salt dough,
tar pit
Subscribe to:
Posts (Atom)